Node Introduction
Nodes are the core components of workflows. Before starting this chapter, ensure you've mastered the previous chapter: Basic Concepts.
Node Configuration Interface
When you click on a node, its detailed configuration appears in the right-side panel. At the top of the configuration window:
- Node Name (Top Section)
- Click the name to enter edit mode
- Rename nodes during edit mode
- Save Node Button (Top-Right)
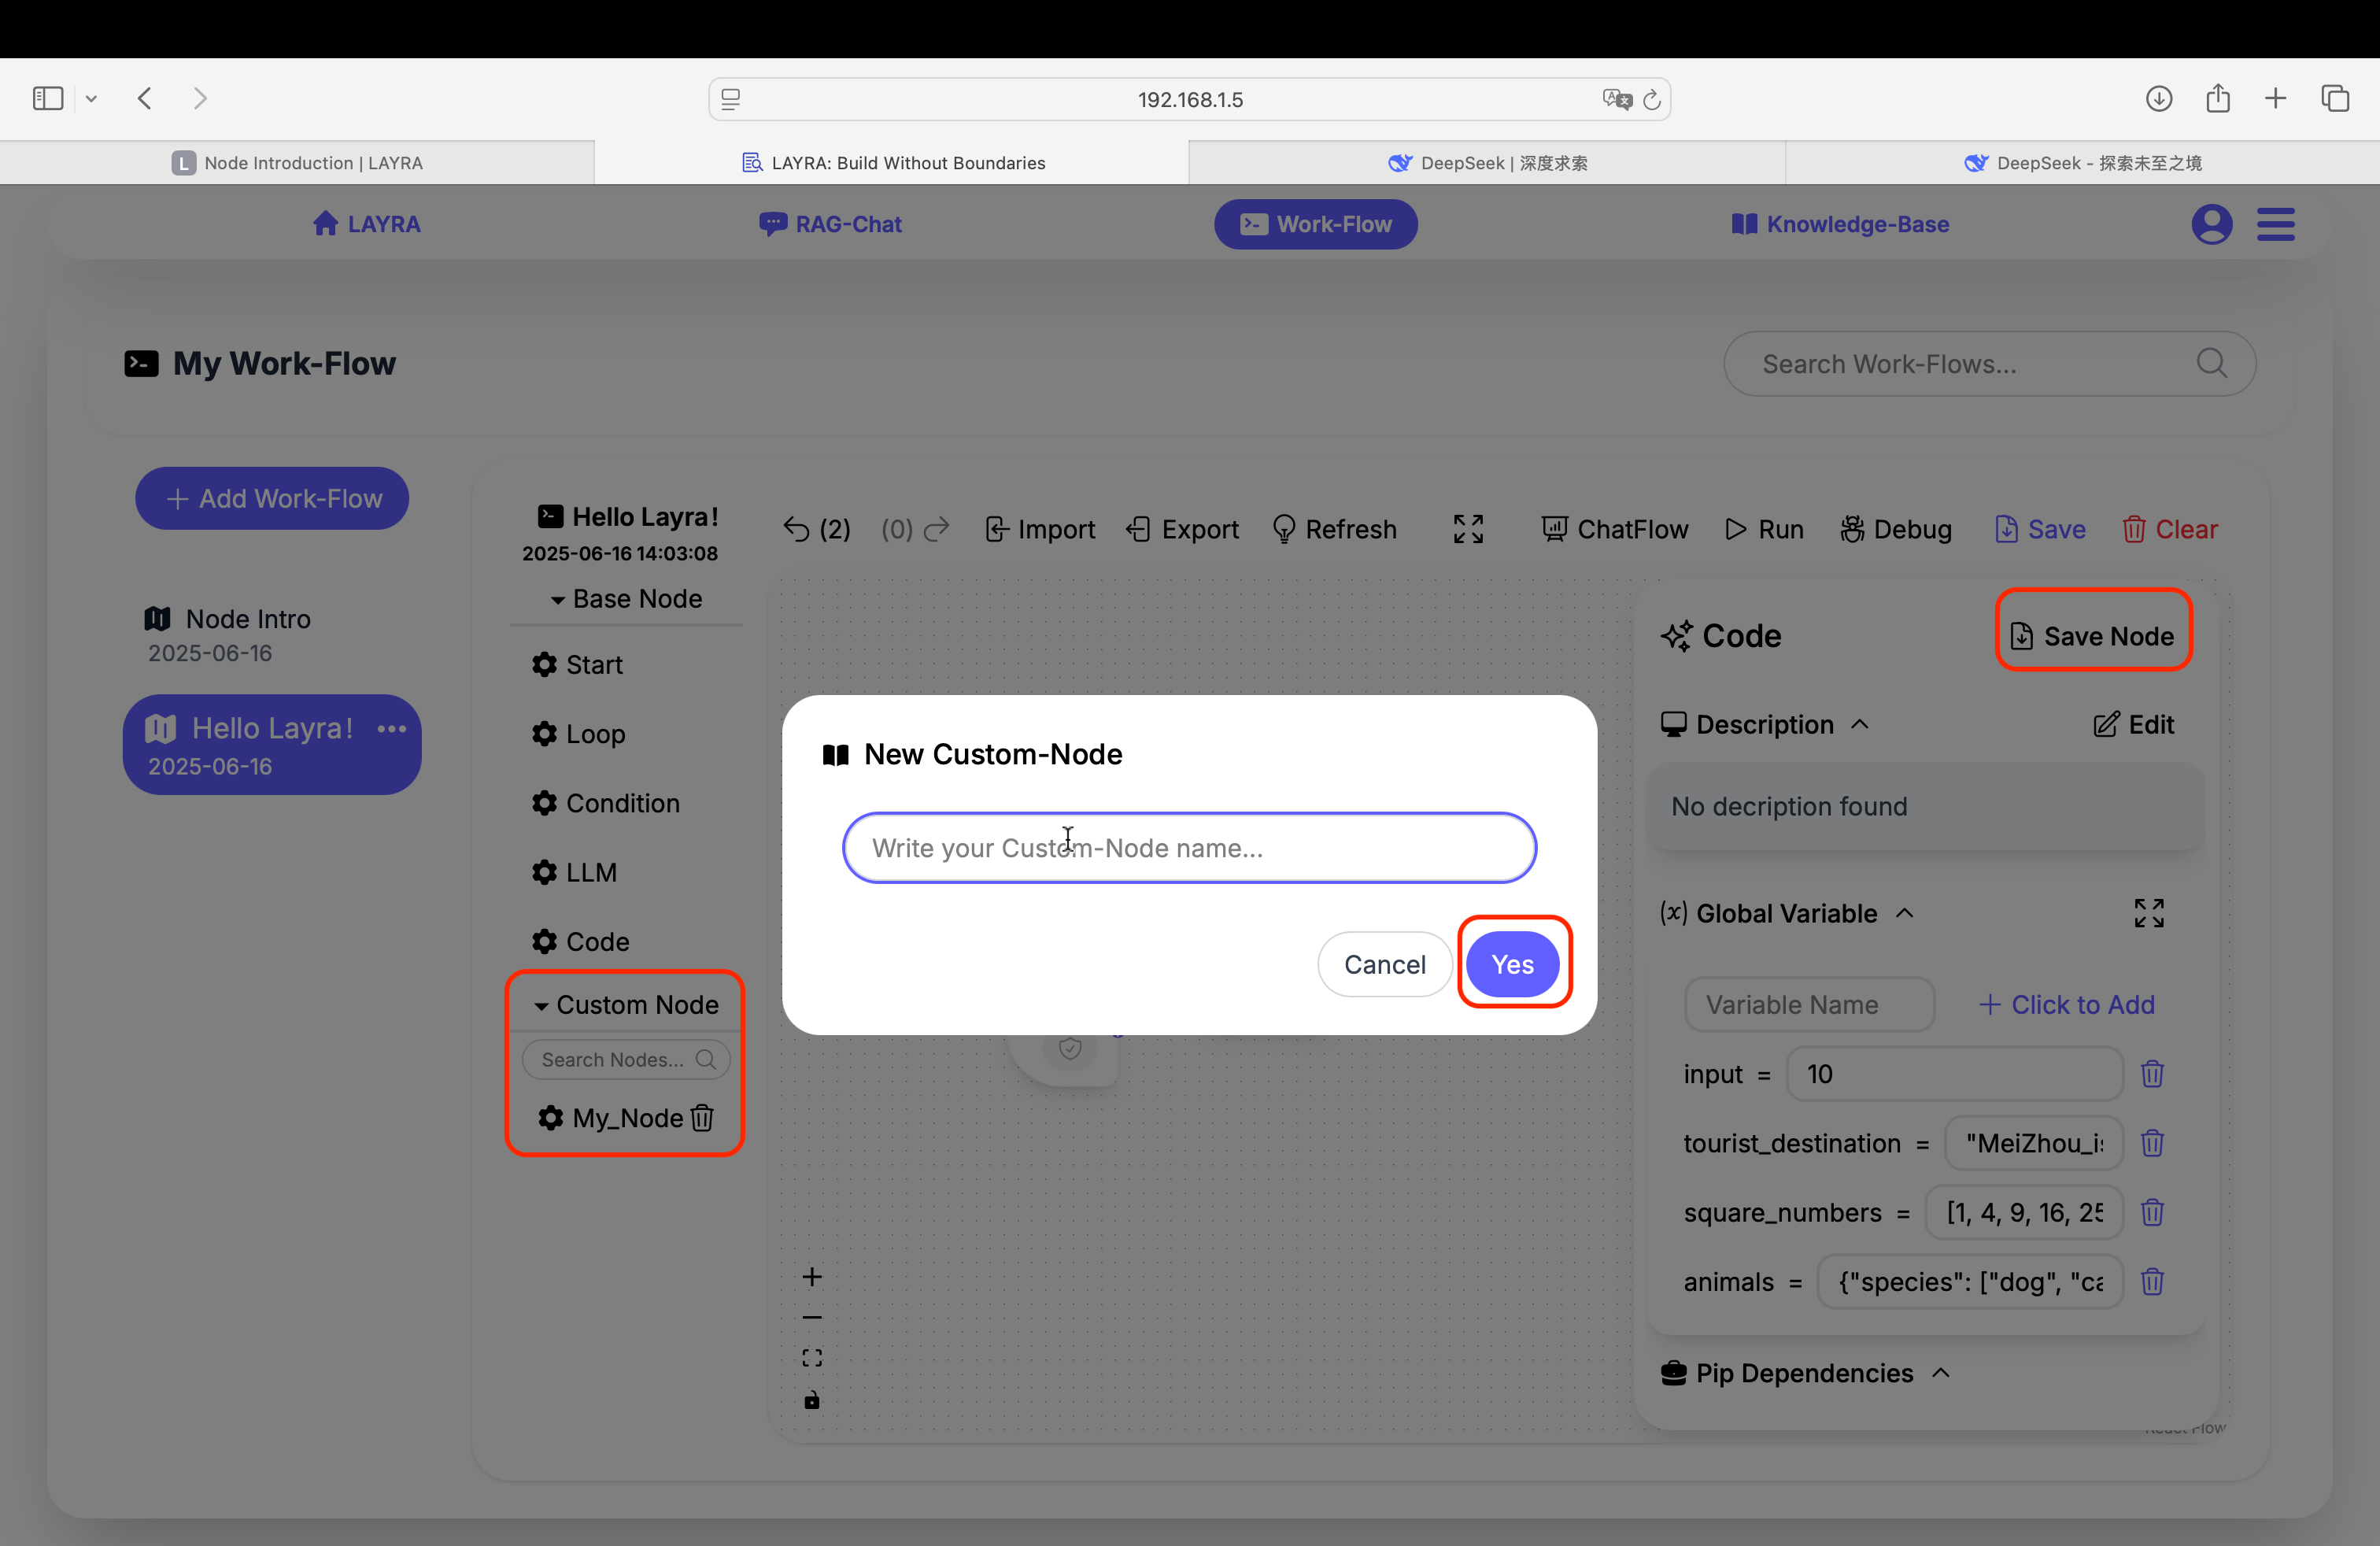
- Saves configured/coded nodes as custom nodes
- Saved custom nodes appear in the Custom Node section on the left canvas
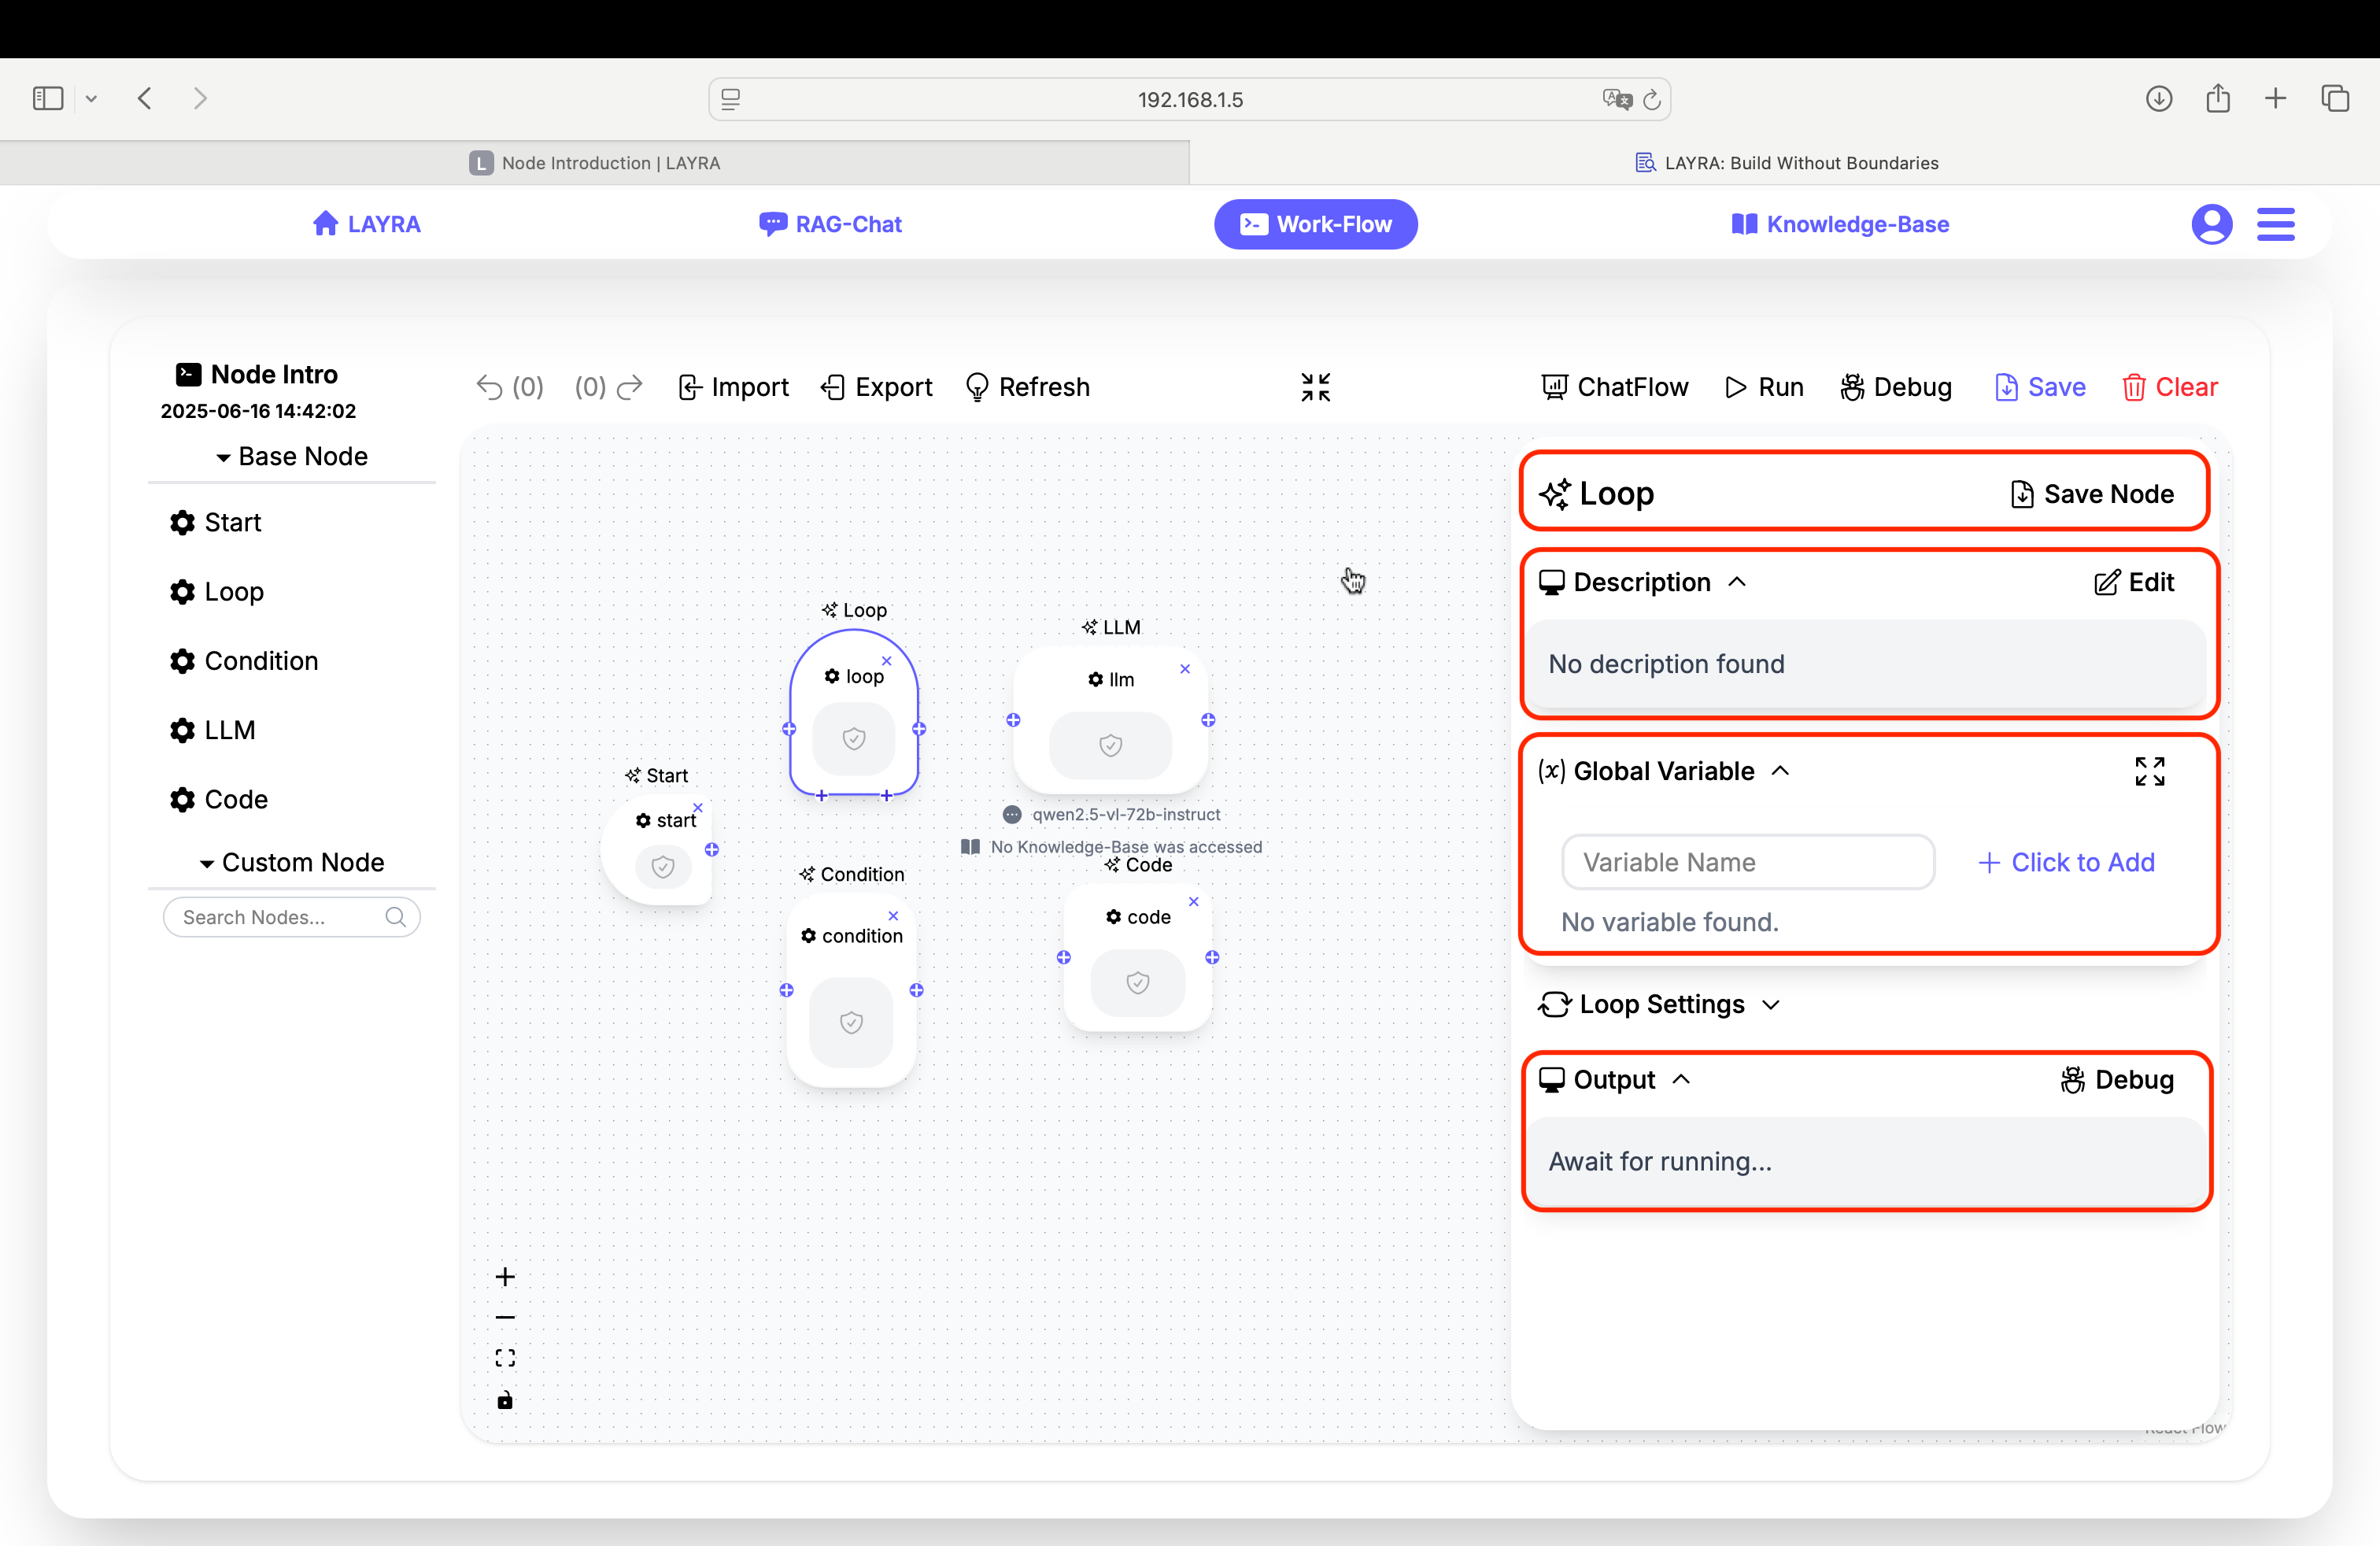
Common Node Properties
Each of the five node types has multiple configuration properties, among which three are universal. We'll introduce these shared properties first (specific properties will be covered later):
- Description
- Global Variable
- Output
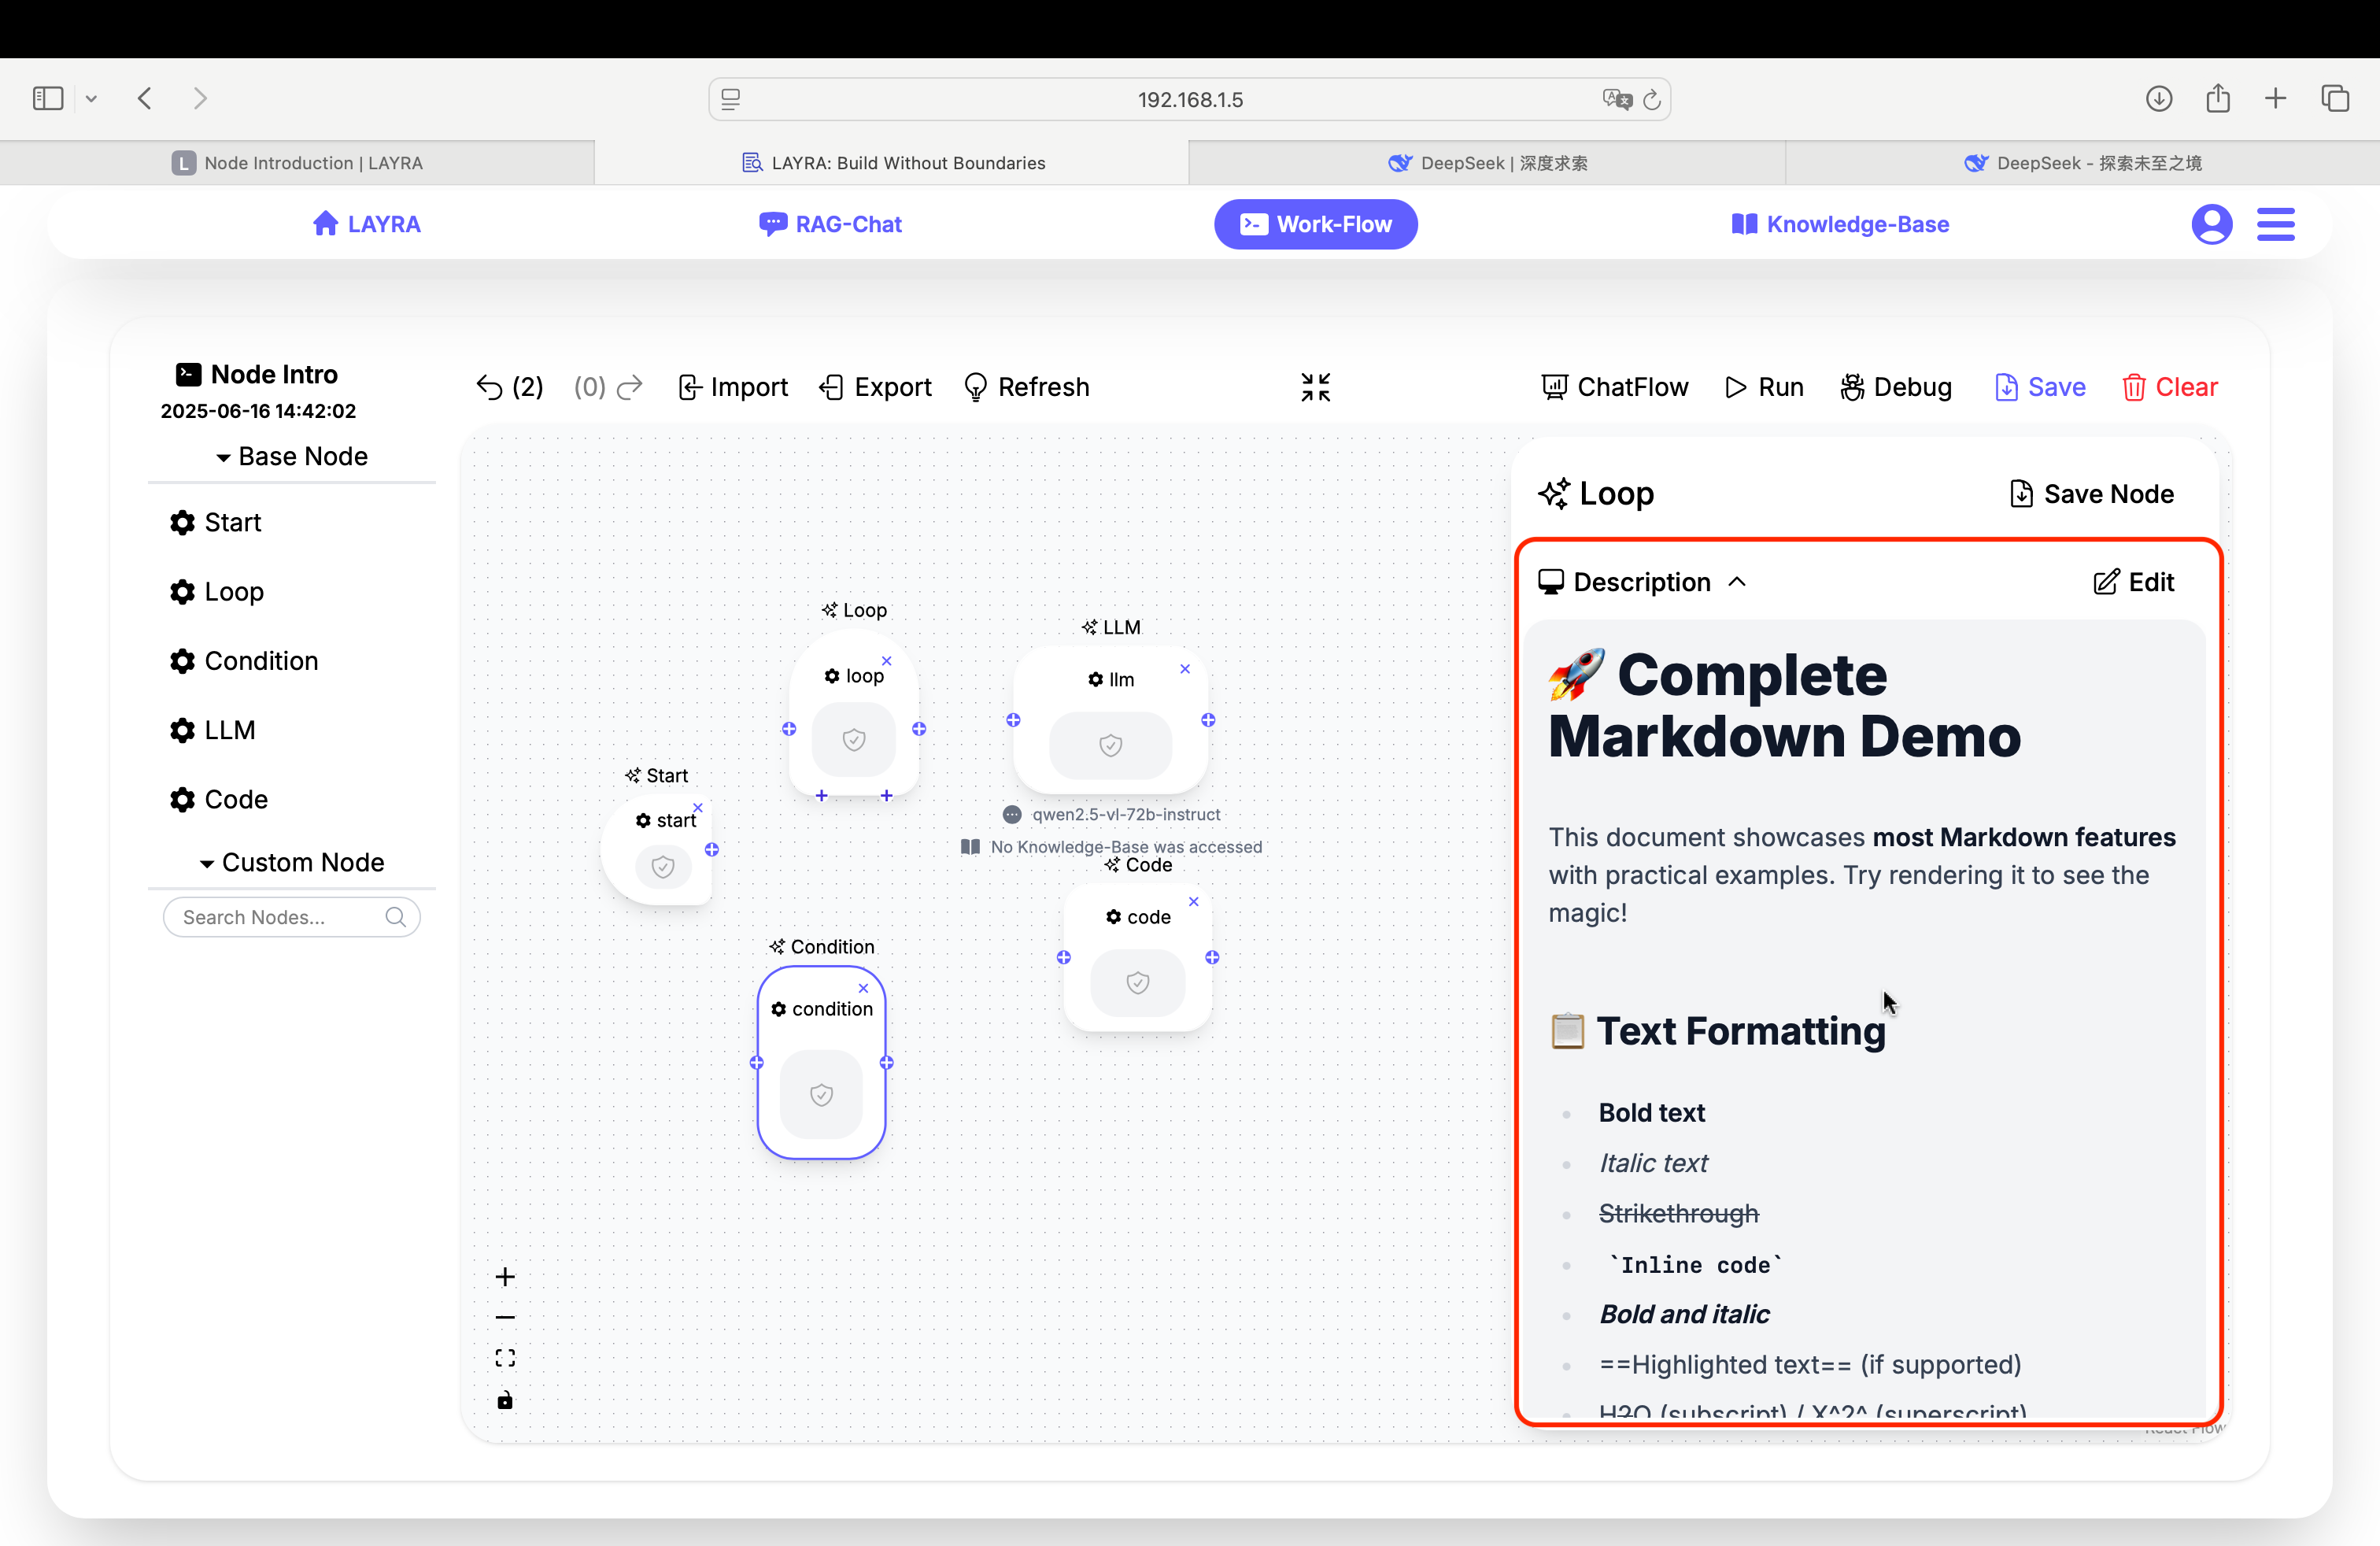
Description
The Description field serves as documentation for nodes or workflows (e.g., functionality, inputs/outputs). Key features:
- Click the Edit button to enable markdown editing
- Descriptions support full markdown rendering
- The button toggles to Preview mode to view rendered results
We recommend:
- Use the Start node's description for workflow overview
- Use other nodes' descriptions for node-specific documentation
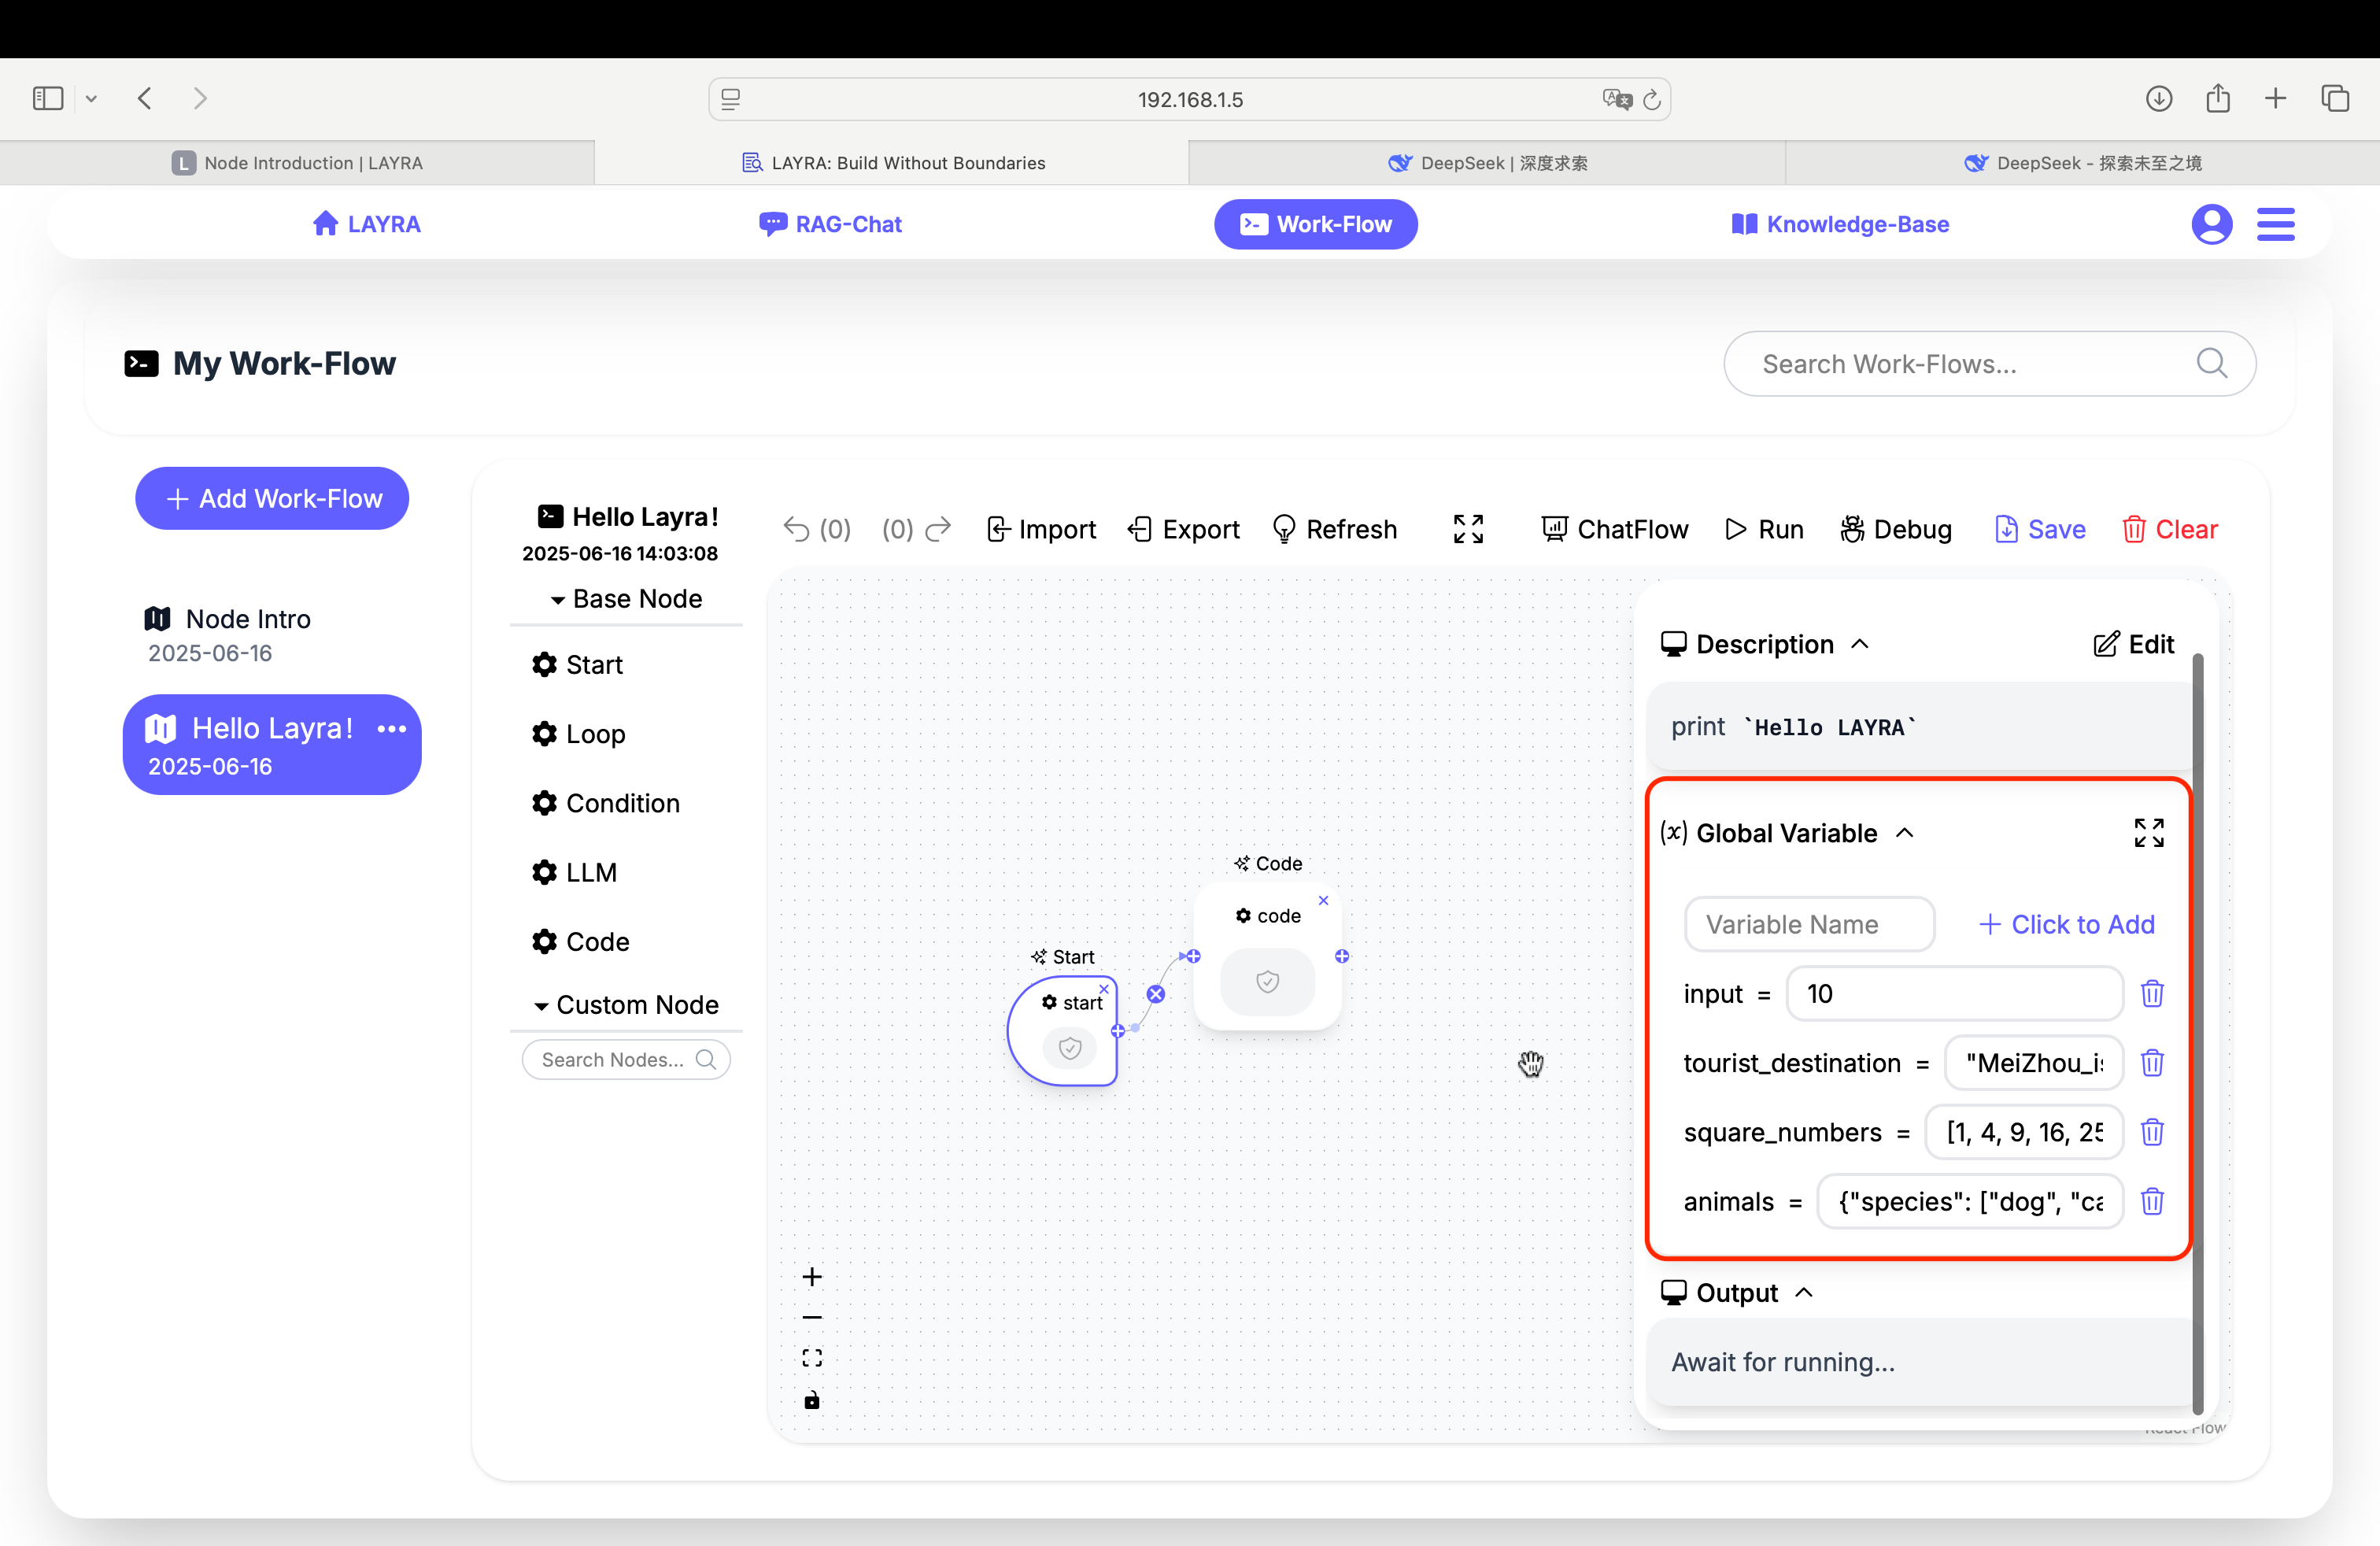
Global Variable
Global Variables are shared across all nodes in a workflow and can be modified anywhere. For details, refer to the Basic Concepts chapter. The interface includes:
- A full-screen icon (right side): Expands Configuration Interface
- Particularly useful for code/LLM node development
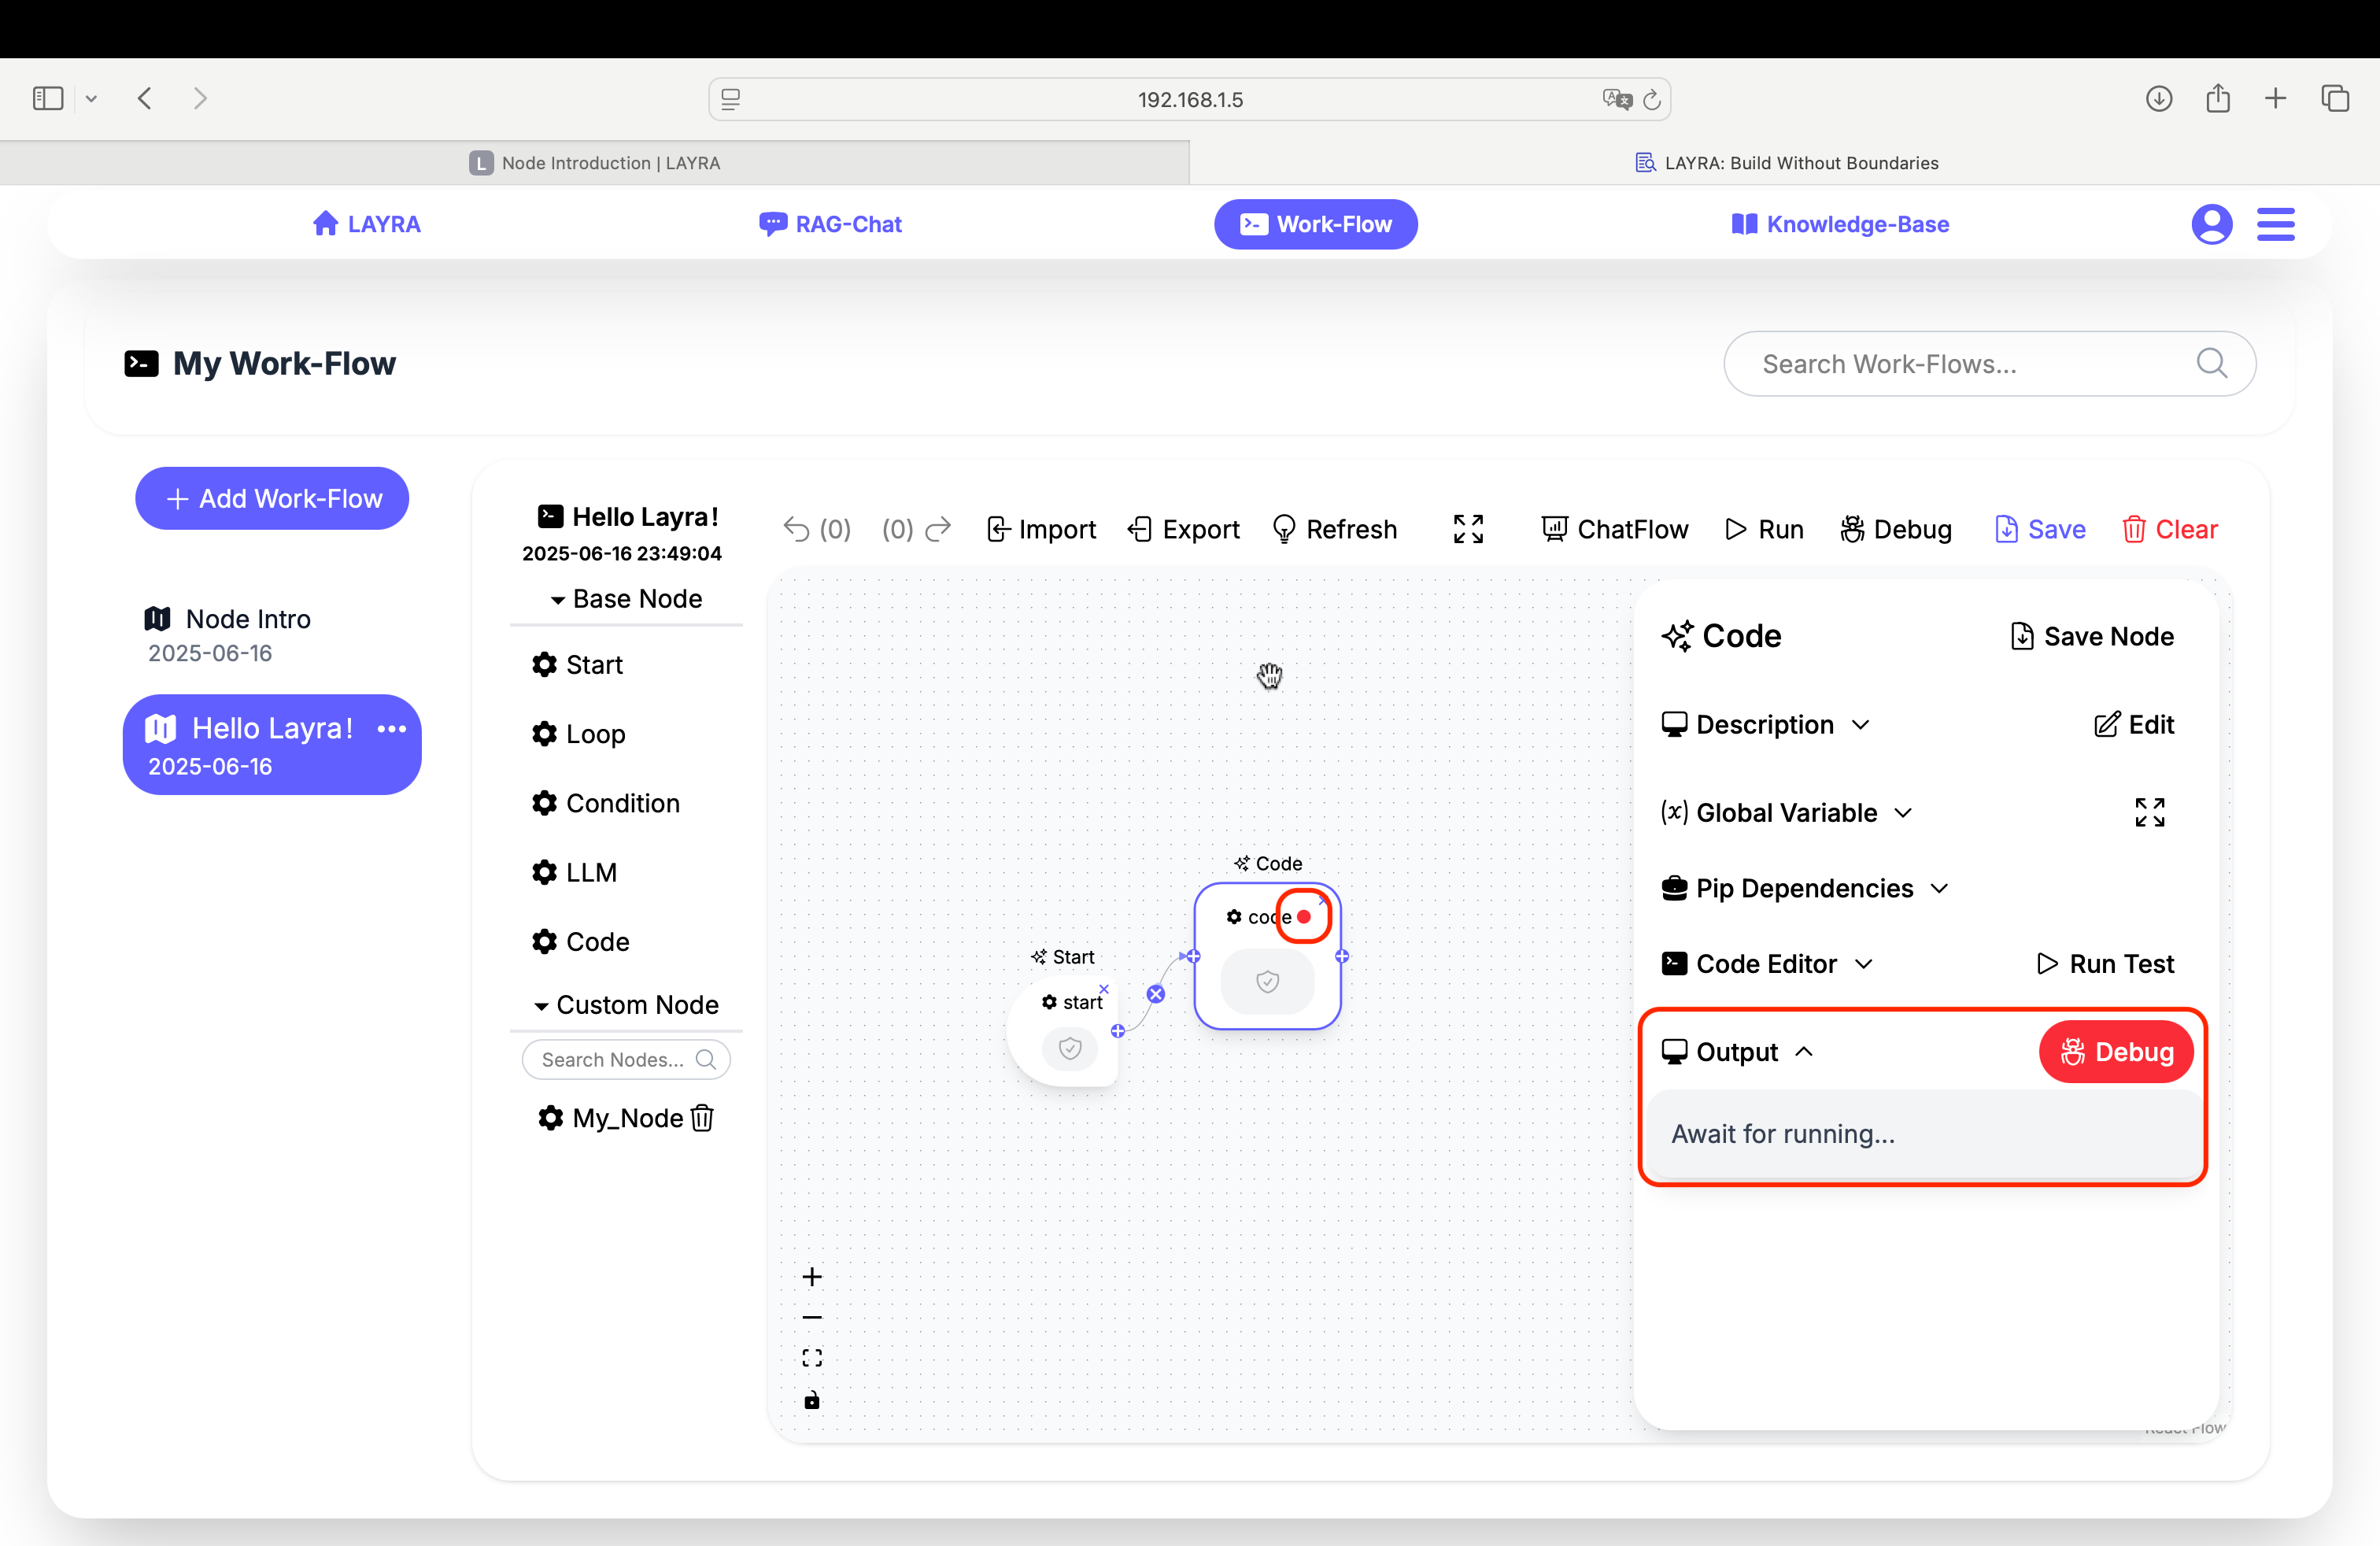
Output
The Output section displays runtime information including:
- Runtime outputs (e.g.,
print()results from Code nodes) - Execution status
- Error messages
Features:
- All nodes except Start have a Debug button
- Clicking Debug adds a red dot breakpoint marker to the node
- Breakpoints enable debugging during workflow execution (detailed in later chapters)
Next Steps
Detailed guides for each node type will follow in subsequent chapters.